How To Create A DIY Otter Costume: Step-by-Step Guide For All Ages
Creating a DIY otter costume can be an exciting and rewarding project for families, hobbyists, or anyone looking to add a personal touch to their Halloween or themed event outfits. This comprehensive guide will walk you through every step of making your own otter costume, ensuring it is both adorable and comfortable for all ages. Whether you're crafting for a toddler, teenager, or even yourself, this guide has everything you need to get started.
Making a DIY otter costume is not just about saving money; it's about creativity and self-expression. Otters are adorable creatures known for their playful nature, and bringing their charm into your costume can make a lasting impression. This guide will provide you with step-by-step instructions, helpful tips, and resources to ensure your otter costume looks professional yet easy to create.
From selecting the right materials to adding intricate details like otter-like paws and a fluffy tail, we will cover everything in this article. So, grab your scissors, glue, and fabric, and let's dive into the world of crafting your very own otter costume!
Read also:How To Remote Manage Iot Devices Behind A Router
Table of Contents
- Materials You Will Need
- Designing Your Otter Costume
- Creating the Body of the Costume
- Making the Otter Paws
- Adding a Fluffy Tail
- Designing the Otter Face Mask
- Tips for Customizing Your Costume
- Adjusting the Costume for All Ages
- Safety Considerations When Making Your Costume
- Conclusion
Materials You Will Need
Before diving into the crafting process, it's essential to gather all the necessary materials. Having everything prepared beforehand will make the process smoother and more efficient. Here’s a list of materials you will need:
Essential Materials
- Fleece fabric (brown and cream colors for otter fur)
- Scissors
- Hot glue gun
- Sewing machine or needle and thread
- Foam sheets (for paws and tail)
- Stuffing material (polyester fiberfill)
- Elastic bands (for the mask and paws)
- Black fabric or felt (for the otter's nose)
These materials are widely available at craft stores or online retailers. If you're on a budget, consider checking local thrift stores for affordable fabric options.
Designing Your Otter Costume
Designing your otter costume is the first step toward creating a truly unique and personalized outfit. This stage involves sketching the costume and deciding on the details that will bring your otter to life.
Planning Your Design
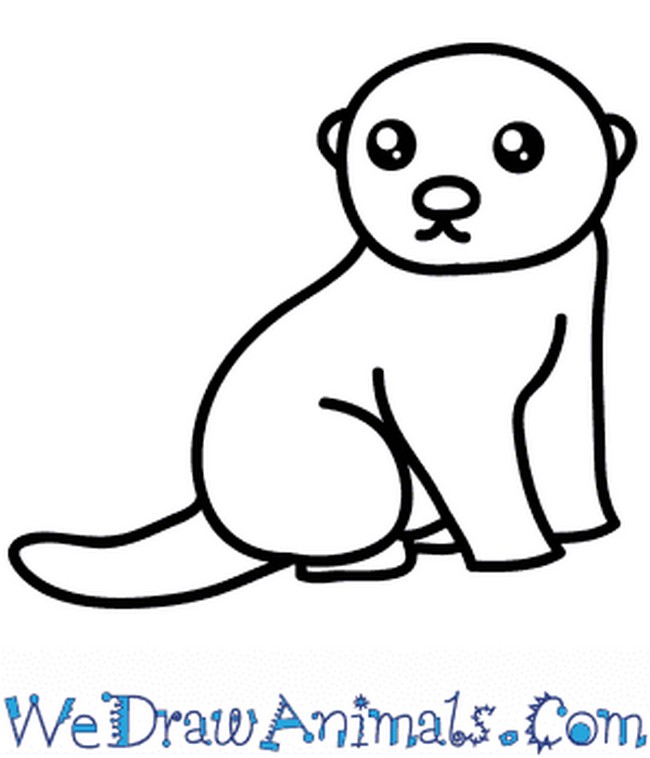
Start by researching otter anatomy and color patterns. Otters have a mix of brown and cream fur, which can be achieved using fleece fabric. Consider the following when designing your costume:
- Body shape: Ensure the costume is comfortable and allows for ease of movement.
- Fur texture: Use fleece fabric to mimic the softness of otter fur.
- Facial features: Include a nose, whiskers, and expressive eyes to enhance the otter's charm.
Sketch your design on paper, noting the placement of each feature. This visual guide will help you stay organized during the crafting process.
Creating the Body of the Costume
The body of your otter costume is the foundation of the entire project. It should be comfortable, durable, and visually appealing.
Read also:Mastering Remoteiot Behind Router Raspberry Pi Free Download The Ultimate Guide
Step-by-Step Instructions
- Cut out two identical pieces of brown fleece fabric for the front and back of the costume.
- Sew the pieces together, leaving a small opening for turning the costume right side out.
- Turn the costume right side out and sew the opening closed.
- Add cream-colored fleece patches to mimic the otter's natural fur pattern.
Ensure the body fits snugly but allows for easy movement. You may need to adjust the size based on the wearer's age and body type.
Making the Otter Paws
One of the cutest features of an otter costume is the paws. These can be crafted using foam and fabric for a realistic look.
Creating Otter Paws
- Cut out paw shapes from foam sheets.
- Cover the foam with brown fleece fabric, ensuring the edges are securely sewn.
- Add elastic bands to the back of the paws for easy attachment to the wearer's hands.
These paws will add an extra layer of authenticity to your otter costume, making it stand out at any event.
Adding a Fluffy Tail
No otter costume is complete without a fluffy tail. This feature is not only adorable but also functional, as it adds balance to the costume.
Steps to Create the Tail
- Cut out a long, tapered shape from brown fleece fabric.
- Sew the two pieces together, leaving a small opening for stuffing.
- Fill the tail with polyester fiberfill and sew the opening closed.
- Attach the tail to the back of the costume using strong stitching.
A well-made tail can significantly enhance the overall appearance of your otter costume.
Designing the Otter Face Mask
The face mask is arguably the most crucial part of your otter costume. It should be both comfortable and lifelike.
Creating the Mask
- Use a stretchy fabric to create the base of the mask, ensuring it fits snugly around the wearer's head.
- Add a black felt nose and whiskers made from embroidery thread.
- Include elastic bands to secure the mask in place.
A well-designed face mask will bring your otter costume to life, making it instantly recognizable.
Tips for Customizing Your Costume
While the basic steps for creating an otter costume are straightforward, there are numerous ways to customize and personalize your project. Consider the following tips:
Customization Ideas
- Add sequins or glitter for a festive touch.
- Incorporate LED lights for nighttime events.
- Experiment with different fabric textures to create a unique look.
These customizations can make your otter costume stand out and reflect your personal style.
Adjusting the Costume for All Ages
One of the great things about DIY otter costumes is their versatility. With a few adjustments, you can create costumes suitable for toddlers, teenagers, and adults alike.
Tips for Different Age Groups
- For toddlers, use softer materials and ensure the costume is easy to put on and take off.
- For teenagers, consider adding more intricate details and accessories.
- For adults, focus on comfort and durability, as the costume may be worn for extended periods.
These adjustments will ensure everyone in the family can enjoy the fun of wearing an otter costume.
Safety Considerations When Making Your Costume
Safety should always be a top priority when crafting any costume. Here are some important safety tips:
Safety Tips
- Use non-toxic materials and adhesives.
- Ensure the costume does not obstruct the wearer's vision or breathing.
- Test the costume on the wearer before the event to ensure it fits comfortably.
By following these safety guidelines, you can ensure your otter costume is both fun and safe to wear.
Conclusion
Creating a DIY otter costume is a fun and rewarding project that can be enjoyed by people of all ages. By following this step-by-step guide, you can craft a costume that is both adorable and functional. Remember to gather all necessary materials, plan your design carefully, and customize your costume to suit the wearer's needs.
We encourage you to share your otter costume creations with friends and family. Don't forget to leave a comment or share this article with others who might find it helpful. Happy crafting, and may your otter costume bring joy to every event it graces!

