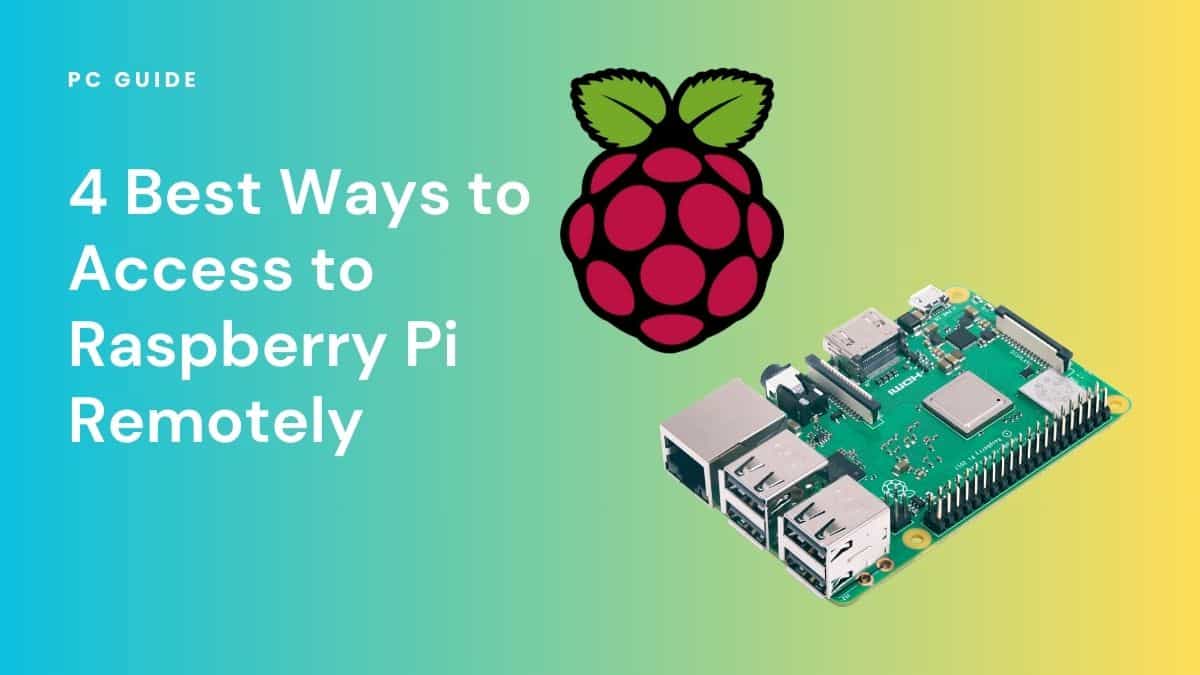
How To Use Access Raspberry Pi From Anywhere Free: A Comprehensive Guide
Accessing your Raspberry Pi remotely is a powerful way to control and manage your device from any location, and this guide will walk you through doing it for free. Whether you're a hobbyist or a professional developer, remote access can streamline your workflow, allowing you to manage projects without needing physical access to your Raspberry Pi. This comprehensive guide will provide step-by-step instructions to help you set up remote access securely and efficiently.
With the rise of IoT (Internet of Things) and remote work, having remote access to your Raspberry Pi has become essential. This article will cover everything you need to know, from setting up the necessary software to troubleshooting common issues. By the end, you'll have a seamless setup that works across devices and platforms.
Whether you're a beginner or an advanced user, this guide is tailored to ensure that you can access your Raspberry Pi from anywhere, without incurring additional costs. Let's dive into the details.
Read also:Movierulz 2024 Download Kannada Your Ultimate Guide To Movies And Beyond
Table of Contents
- Introduction to Remote Access on Raspberry Pi
- Methods to Access Raspberry Pi Remotely
- Software and Tools You Need
- Setting Up Remote Access
- Security Considerations
- Troubleshooting Common Issues
- Alternative Solutions
- Optimizing Your Remote Connection
- Use Cases for Remote Raspberry Pi Access
- Conclusion and Next Steps
Introduction to Remote Access on Raspberry Pi
Remote access is a fundamental feature that allows users to interact with their Raspberry Pi from any location. By enabling this functionality, you can manage files, run scripts, and monitor processes without needing to be physically present near the device.
There are several methods to achieve remote access, ranging from using SSH (Secure Shell) to more advanced solutions like VNC (Virtual Network Computing). This section will explore the basics of remote access and why it's crucial for Raspberry Pi users.
Understanding the benefits of remote access can enhance your project management capabilities, especially when working on IoT devices or server setups. Let's delve deeper into the methods available.
Methods to Access Raspberry Pi Remotely
SSH: The Go-To Method
SSH is one of the most popular and secure methods for accessing Raspberry Pi remotely. It allows you to execute commands and transfer files securely over a network. To use SSH:
- Enable SSH on your Raspberry Pi.
- Find the IP address of your Raspberry Pi.
- Use an SSH client (e.g., PuTTY for Windows or Terminal for macOS/Linux).
This method is ideal for text-based interactions and is widely supported across platforms.
VNC: Graphical Remote Access
If you prefer a graphical interface, VNC is the way to go. It allows you to view and control the Raspberry Pi's desktop remotely. To set up VNC:
Read also:Elizabeth Carlisle Story A Journey Of Resilience Success And Impact
- Install the VNC server on your Raspberry Pi.
- Connect to the VNC server using a client application on your remote device.
VNC is perfect for users who need a visual interface to manage their Raspberry Pi projects.
Software and Tools You Need
To access your Raspberry Pi remotely, you'll need specific software and tools. Here's a list of the most essential ones:
- Raspberry Pi OS: Ensure your Raspberry Pi is running the latest version of Raspberry Pi OS.
- SSH Client: Use PuTTY (Windows) or Terminal (macOS/Linux) to connect via SSH.
- VNC Viewer: A client application for accessing the Raspberry Pi's desktop remotely.
- Port Forwarding Tools: If you're accessing your Raspberry Pi from outside your local network, you may need to configure port forwarding on your router.
Having these tools ready will make the setup process smoother and more efficient.
Setting Up Remote Access
Step 1: Enable SSH on Raspberry Pi
Enabling SSH on your Raspberry Pi is the first step in setting up remote access. Follow these steps:
- Open the Raspberry Pi Configuration tool.
- Navigate to the "Interfaces" tab.
- Select "Enable" under SSH.
Once SSH is enabled, you can connect to your Raspberry Pi using an SSH client.
Step 2: Find Your Raspberry Pi's IP Address
To connect remotely, you need to know the IP address of your Raspberry Pi. You can find this by running the following command in the terminal:
hostname -I
This command will display the IP address assigned to your Raspberry Pi on your local network.
Security Considerations
Security is paramount when setting up remote access to your Raspberry Pi. Here are some tips to keep your device secure:
- Use Strong Passwords: Ensure that your Raspberry Pi has a strong, unique password.
- Enable Two-Factor Authentication (2FA): If possible, use 2FA for an extra layer of security.
- Regular Updates: Keep your Raspberry Pi OS and all installed software up to date.
- Use a Firewall: Configure a firewall to restrict unauthorized access.
By following these security practices, you can protect your Raspberry Pi from potential threats.
Troubleshooting Common Issues
While setting up remote access, you might encounter some common issues. Here's how to troubleshoot them:
- Cannot Connect via SSH: Check if SSH is enabled and ensure your IP address is correct.
- VNC Connection Fails: Verify that the VNC server is running and the client application is correctly configured.
- Port Forwarding Issues: Double-check your router's port forwarding settings and ensure the correct ports are open.
Addressing these issues promptly will ensure a smooth remote access experience.
Alternative Solutions
Cloud-Based Services
While SSH and VNC are excellent options, cloud-based services like ngrok or PageKite can also facilitate remote access. These services create a secure tunnel to your Raspberry Pi, allowing you to access it from anywhere without complex network configurations.
Third-Party Apps
Applications like TeamViewer or AnyDesk offer user-friendly interfaces for remote access. While these services may not be entirely free, they provide robust features that simplify the process.
Optimizing Your Remote Connection
To ensure a smooth and efficient remote connection, consider the following optimization tips:
- Compress Data: Enable data compression in your SSH or VNC settings to reduce bandwidth usage.
- Adjust Resolution: Lower the resolution in VNC settings to improve performance over slower connections.
- Use a Static IP: Assign a static IP address to your Raspberry Pi to avoid IP conflicts.
These optimizations can significantly enhance your remote access experience.
Use Cases for Remote Raspberry Pi Access
Remote access to your Raspberry Pi opens up a wide range of possibilities. Here are some practical use cases:
- Home Automation: Control smart home devices from anywhere.
- Server Management: Manage web servers or media servers hosted on your Raspberry Pi.
- Remote Monitoring: Monitor IoT sensors or security cameras remotely.
Exploring these use cases can inspire new projects and applications for your Raspberry Pi.
Conclusion and Next Steps
In conclusion, accessing your Raspberry Pi remotely is a valuable skill that can enhance your productivity and project capabilities. By following the steps outlined in this guide, you can set up secure and efficient remote access for free. Remember to prioritize security and optimize your connection for the best results.
We encourage you to share your experiences or ask questions in the comments section below. Additionally, explore other articles on our site for more tips and tricks related to Raspberry Pi and IoT projects. Together, let's build a smarter, more connected world!
![[PDF] Raspberry Pi, 3 in 1 A Comprehensive Beginner’s Guide Free book](https://thesavvyengineer.online/wp-content/uploads/2024/10/PDF-Raspberry-Pi-3-in-1-A-Comprehensive-Beginners-Guide-–-Free-book.png)
